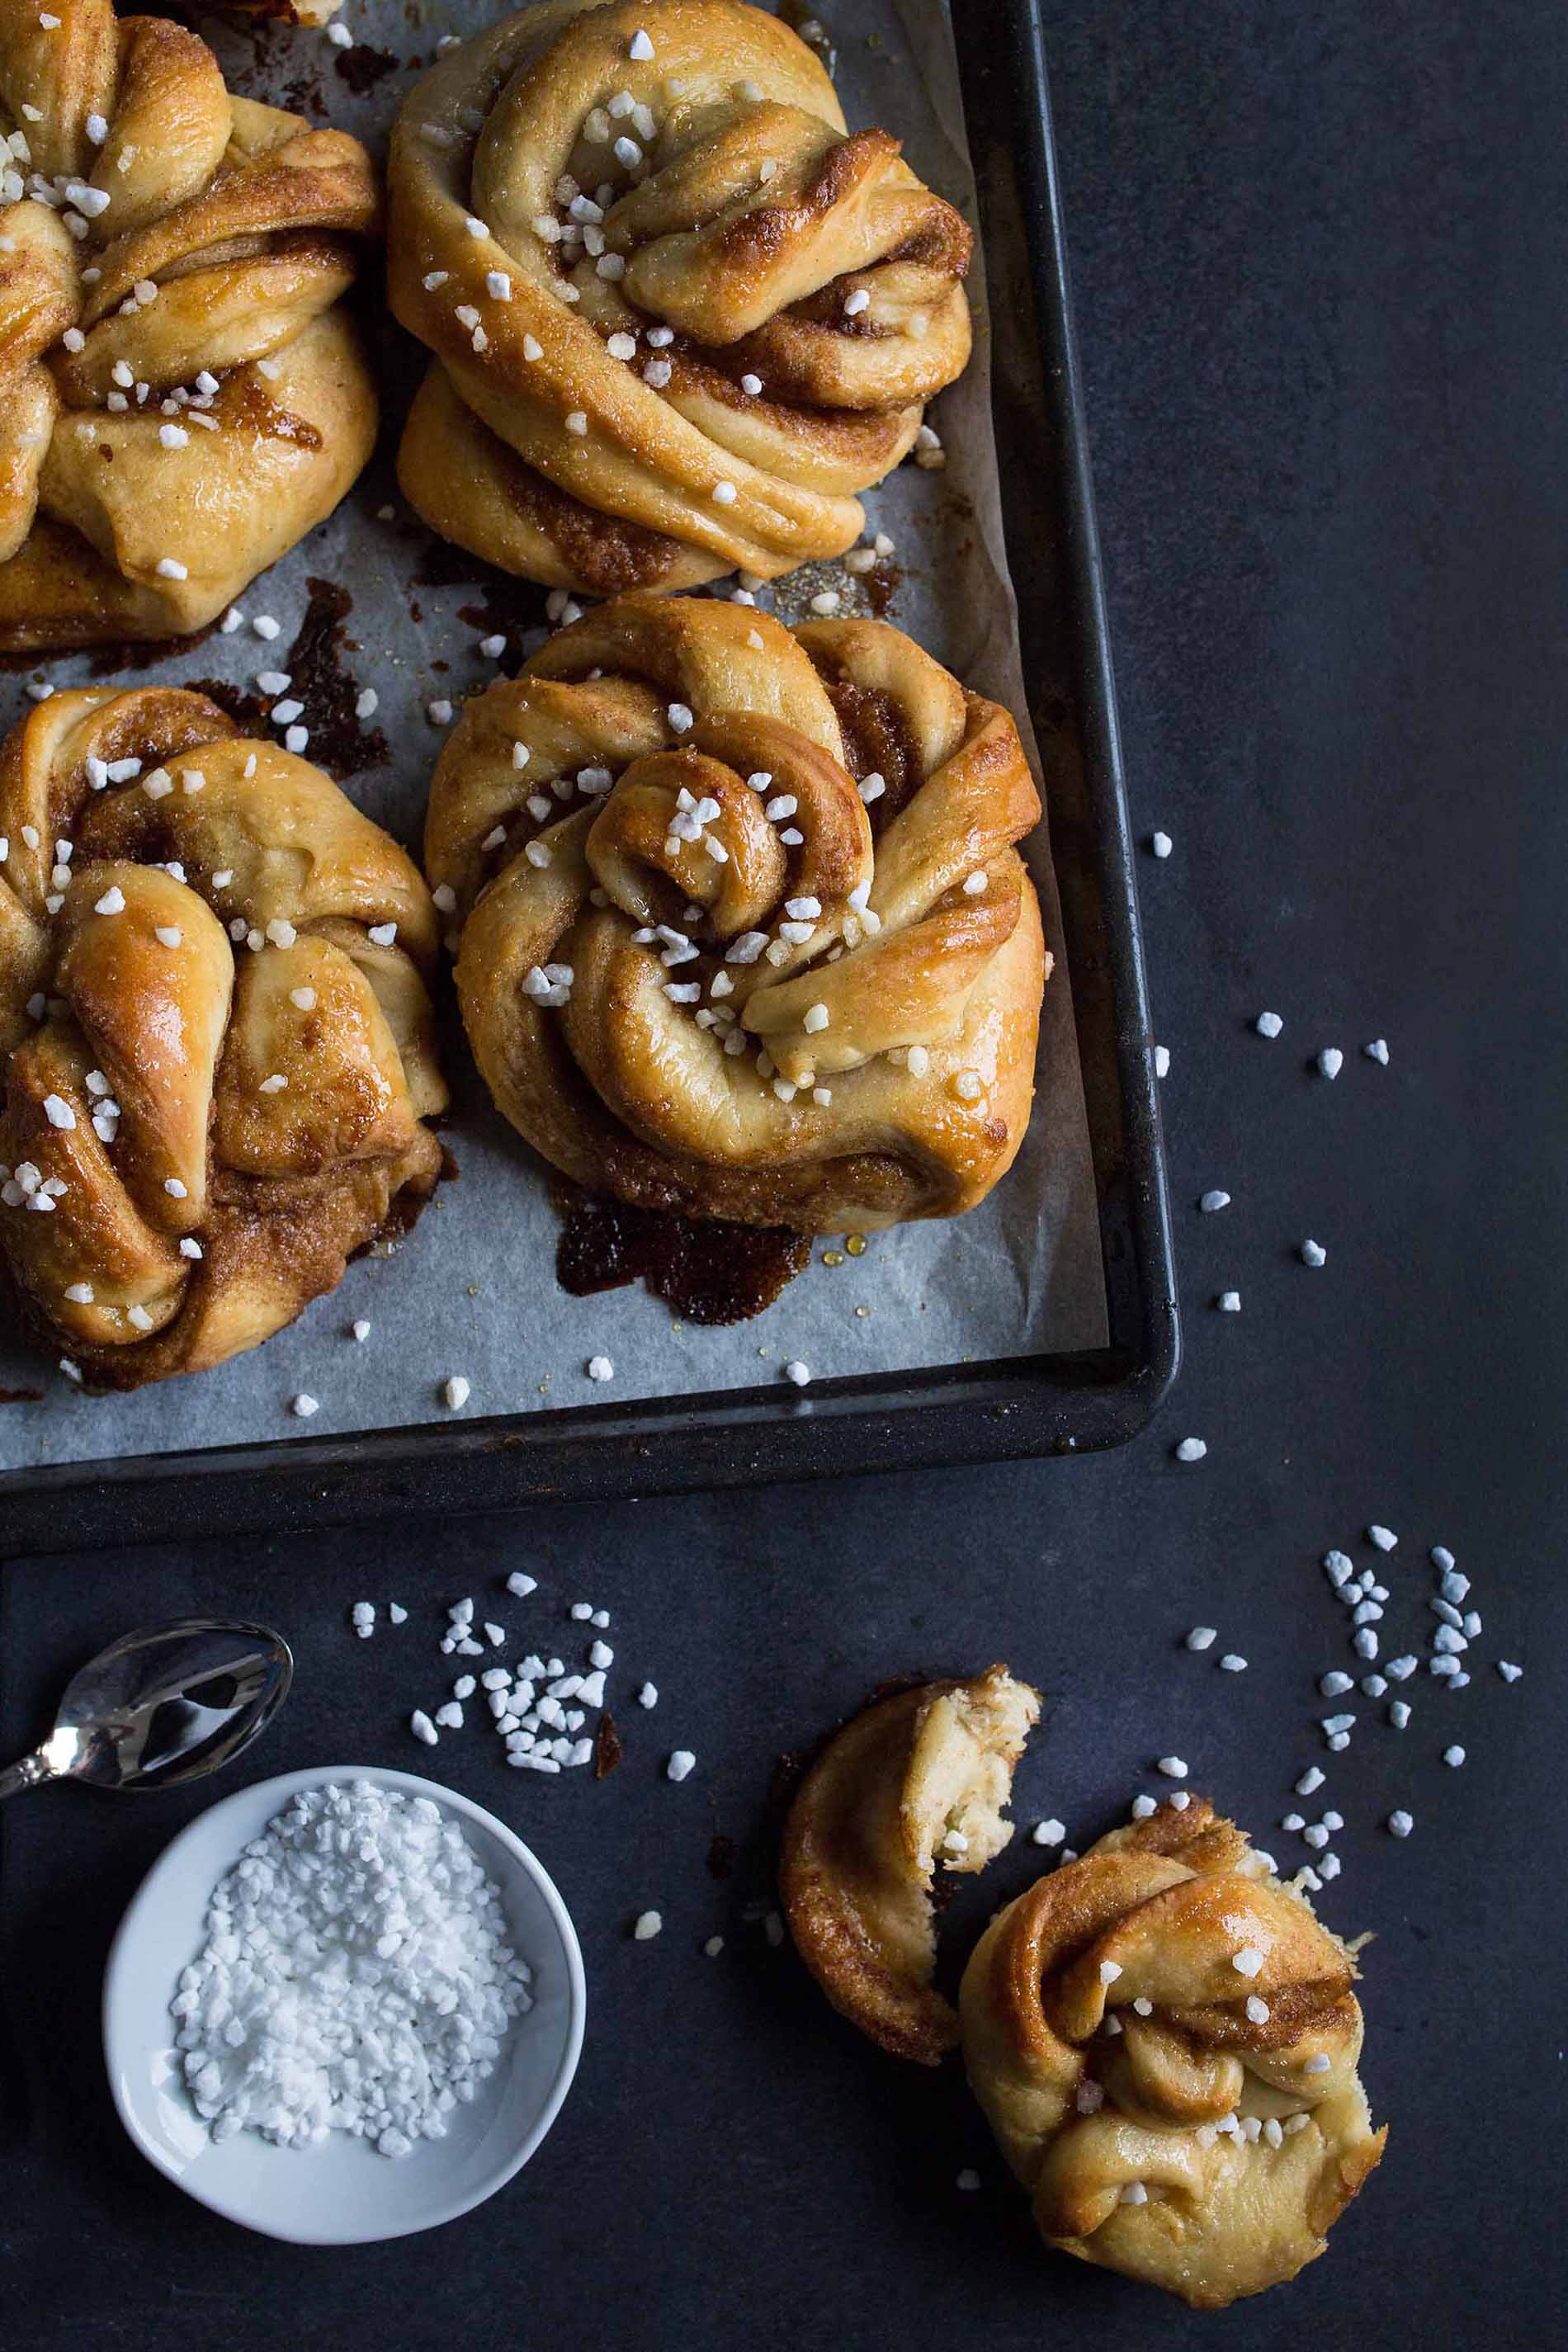
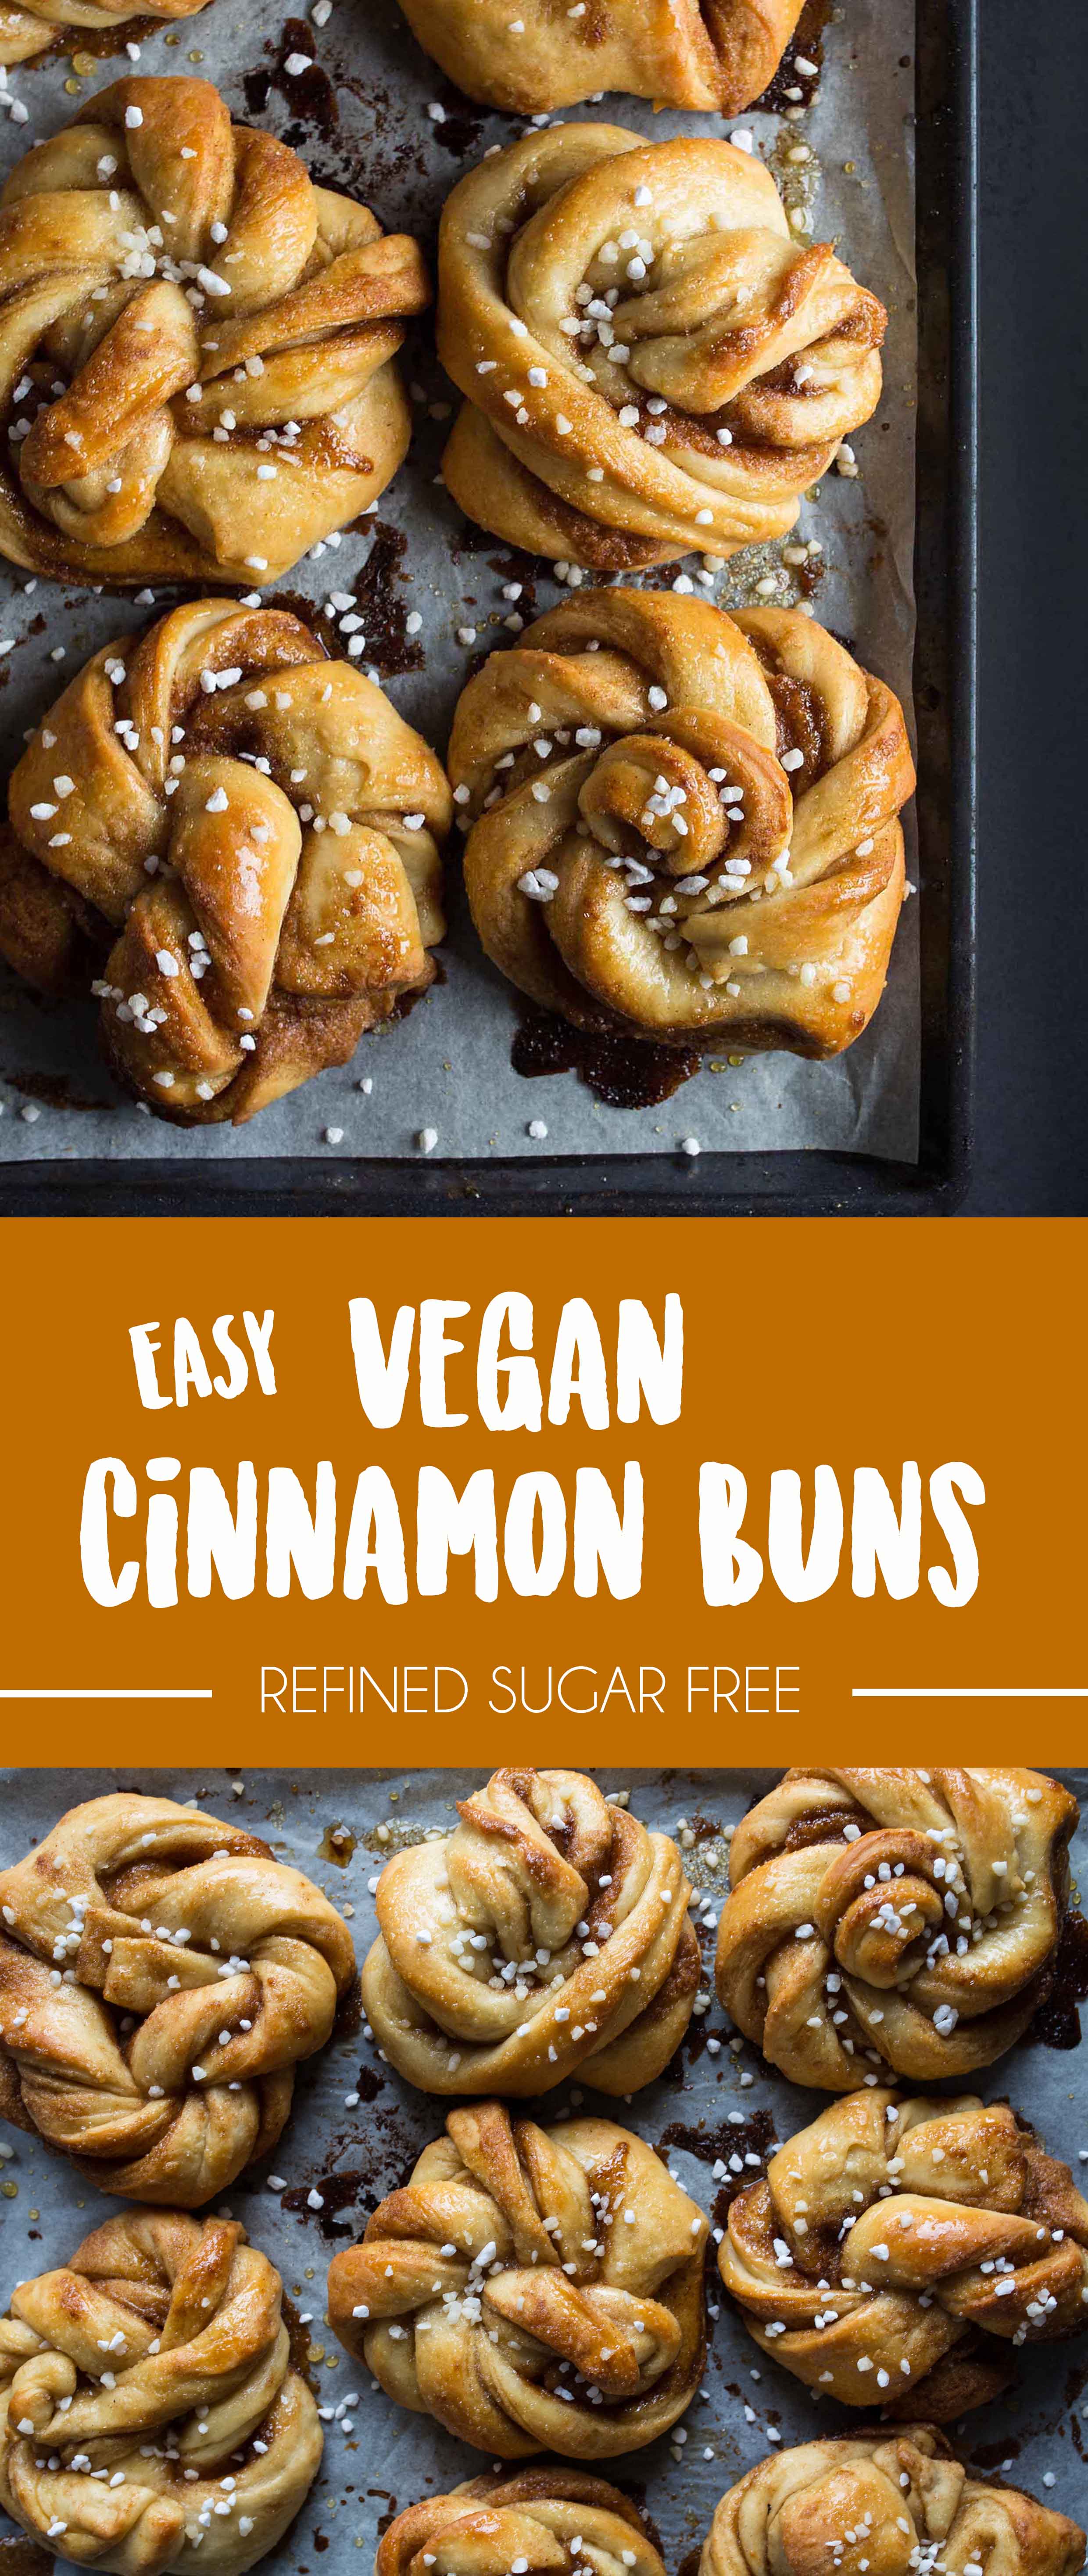
Those vegan, egg-free, and dairy-free Cinnamon buns also called Kardemummabullar are perfect with hot coffee and good friends.
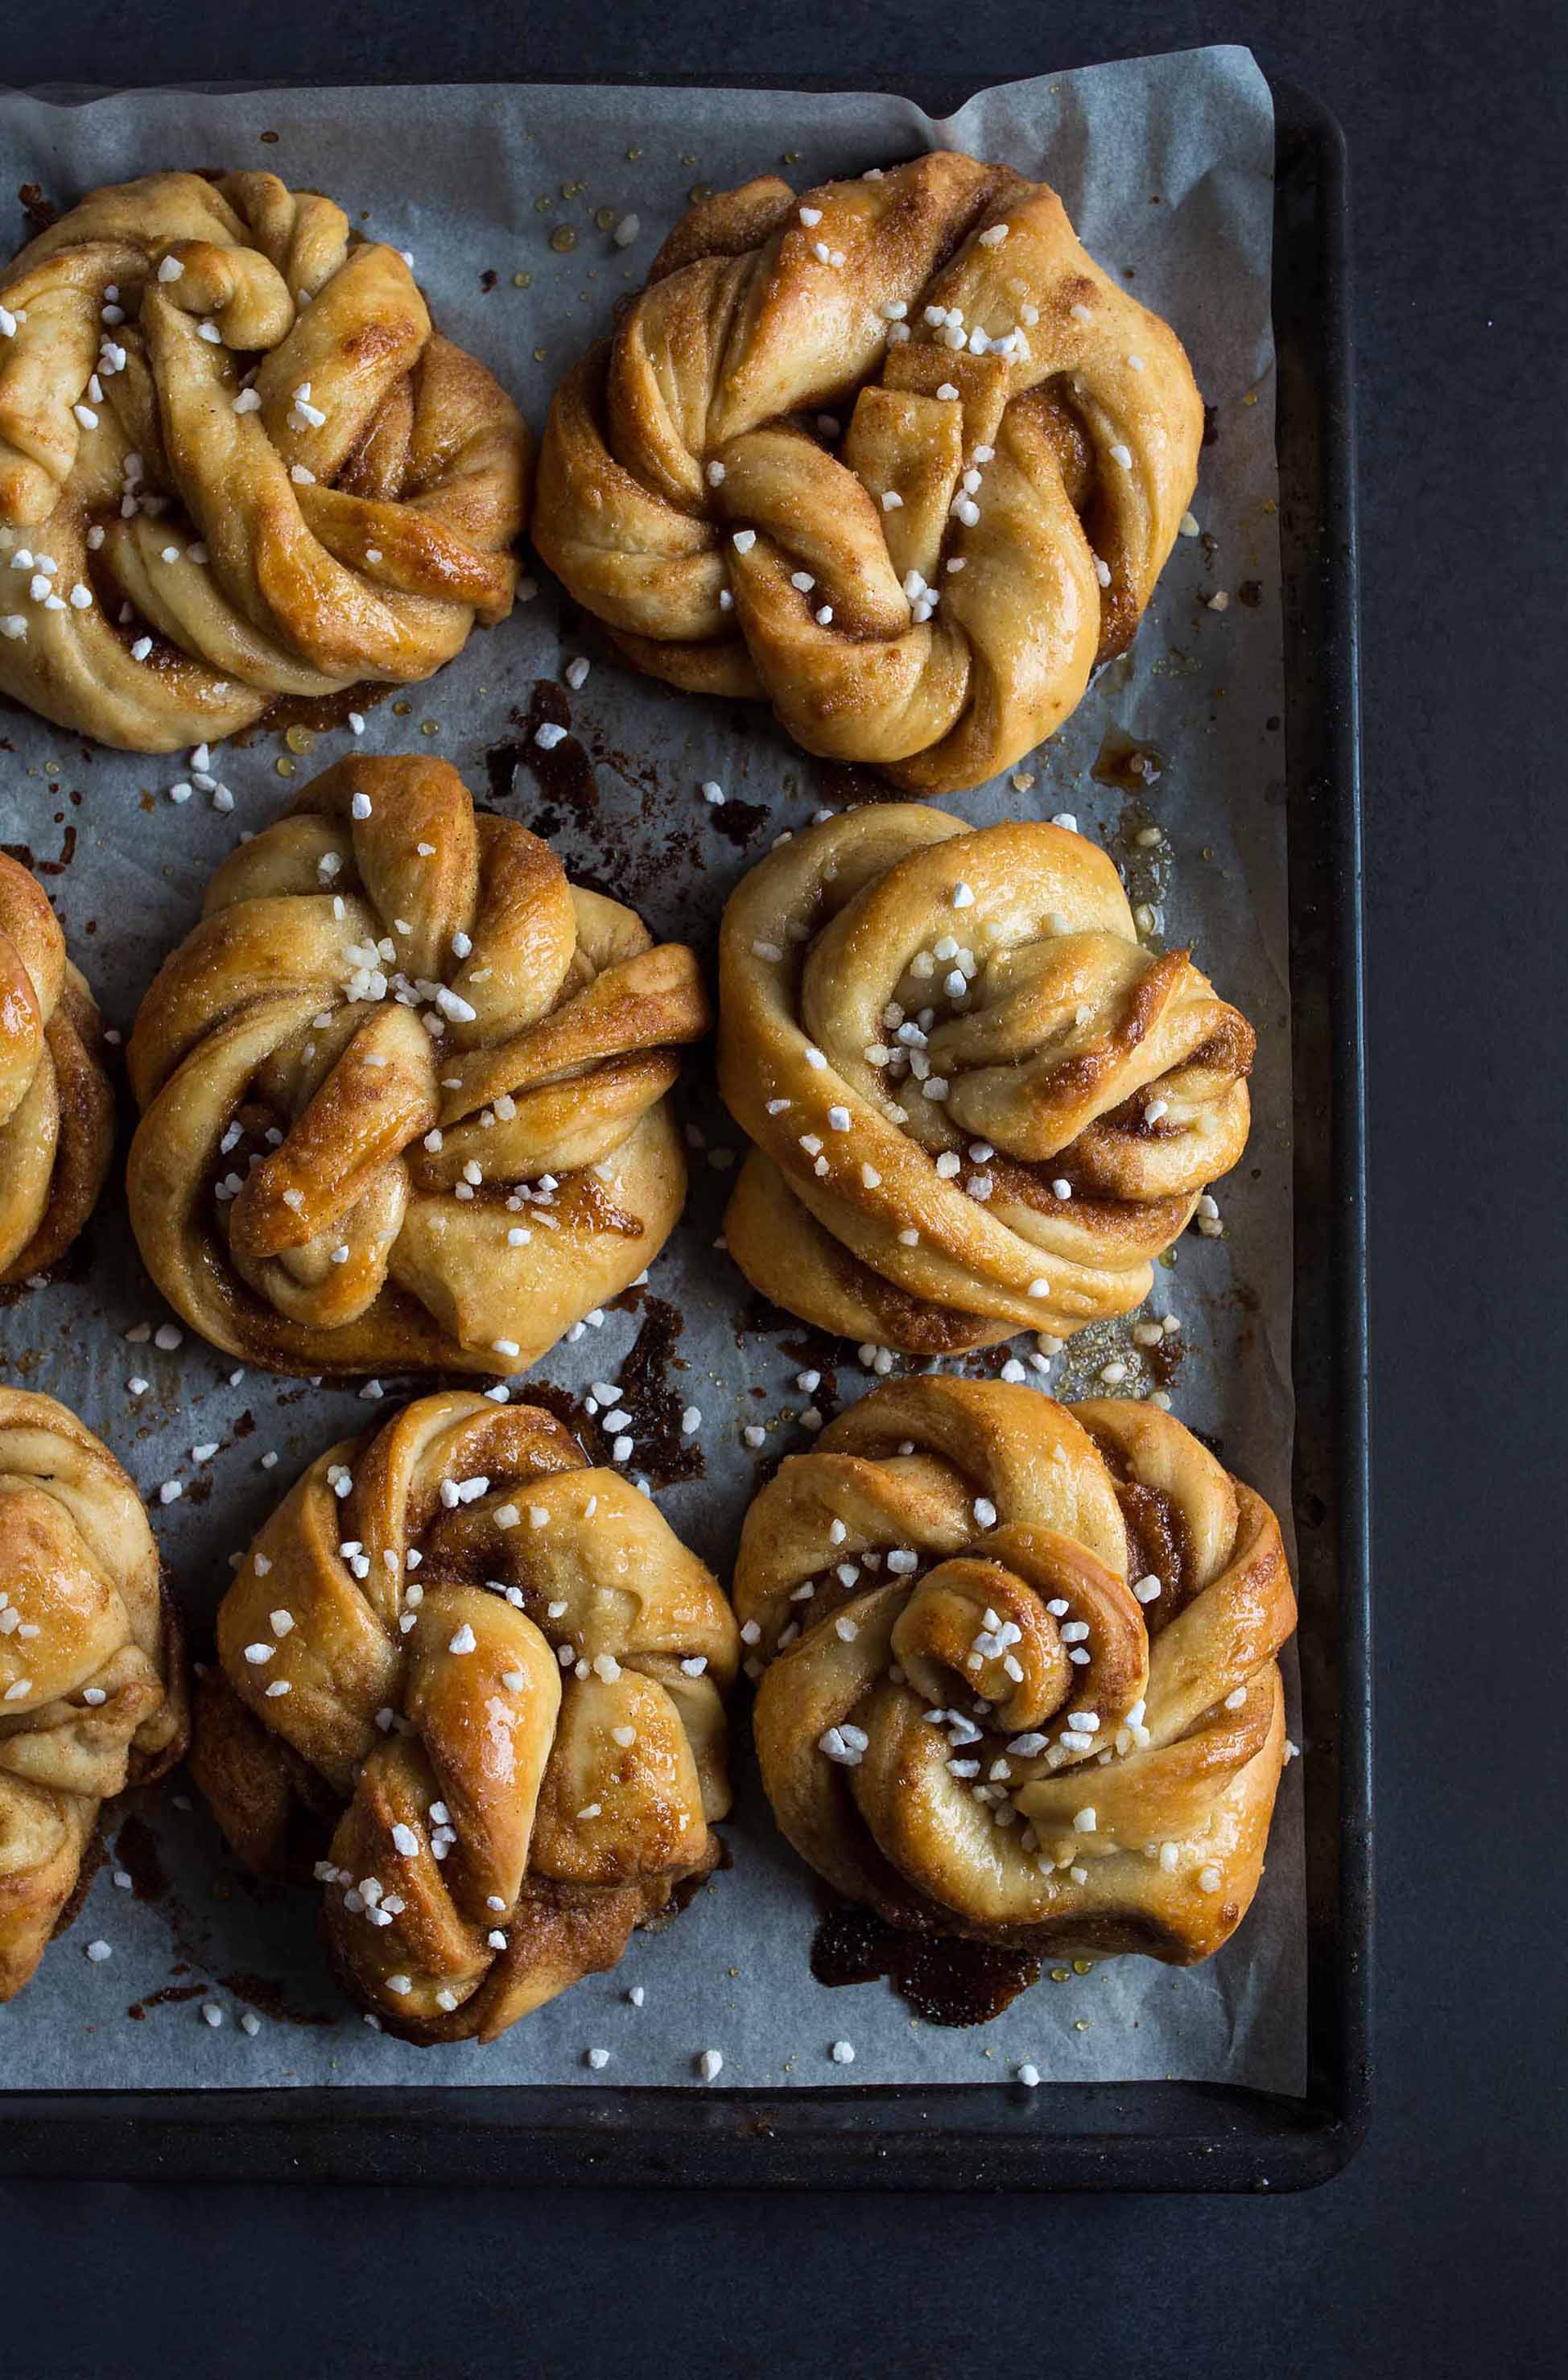
I love yeast dough! Everything made with yeast dough is yummy and does not survive any longer than 2 days in my flat. I never did any yeast dough on my own because I always had a lot of respect for it and I heard a lot from people failing when working with it. Nevertheless, I thought I could try some vegan cinnamon buns also called
Kardemummabullar and not Kanelbullar.
(more on that later).
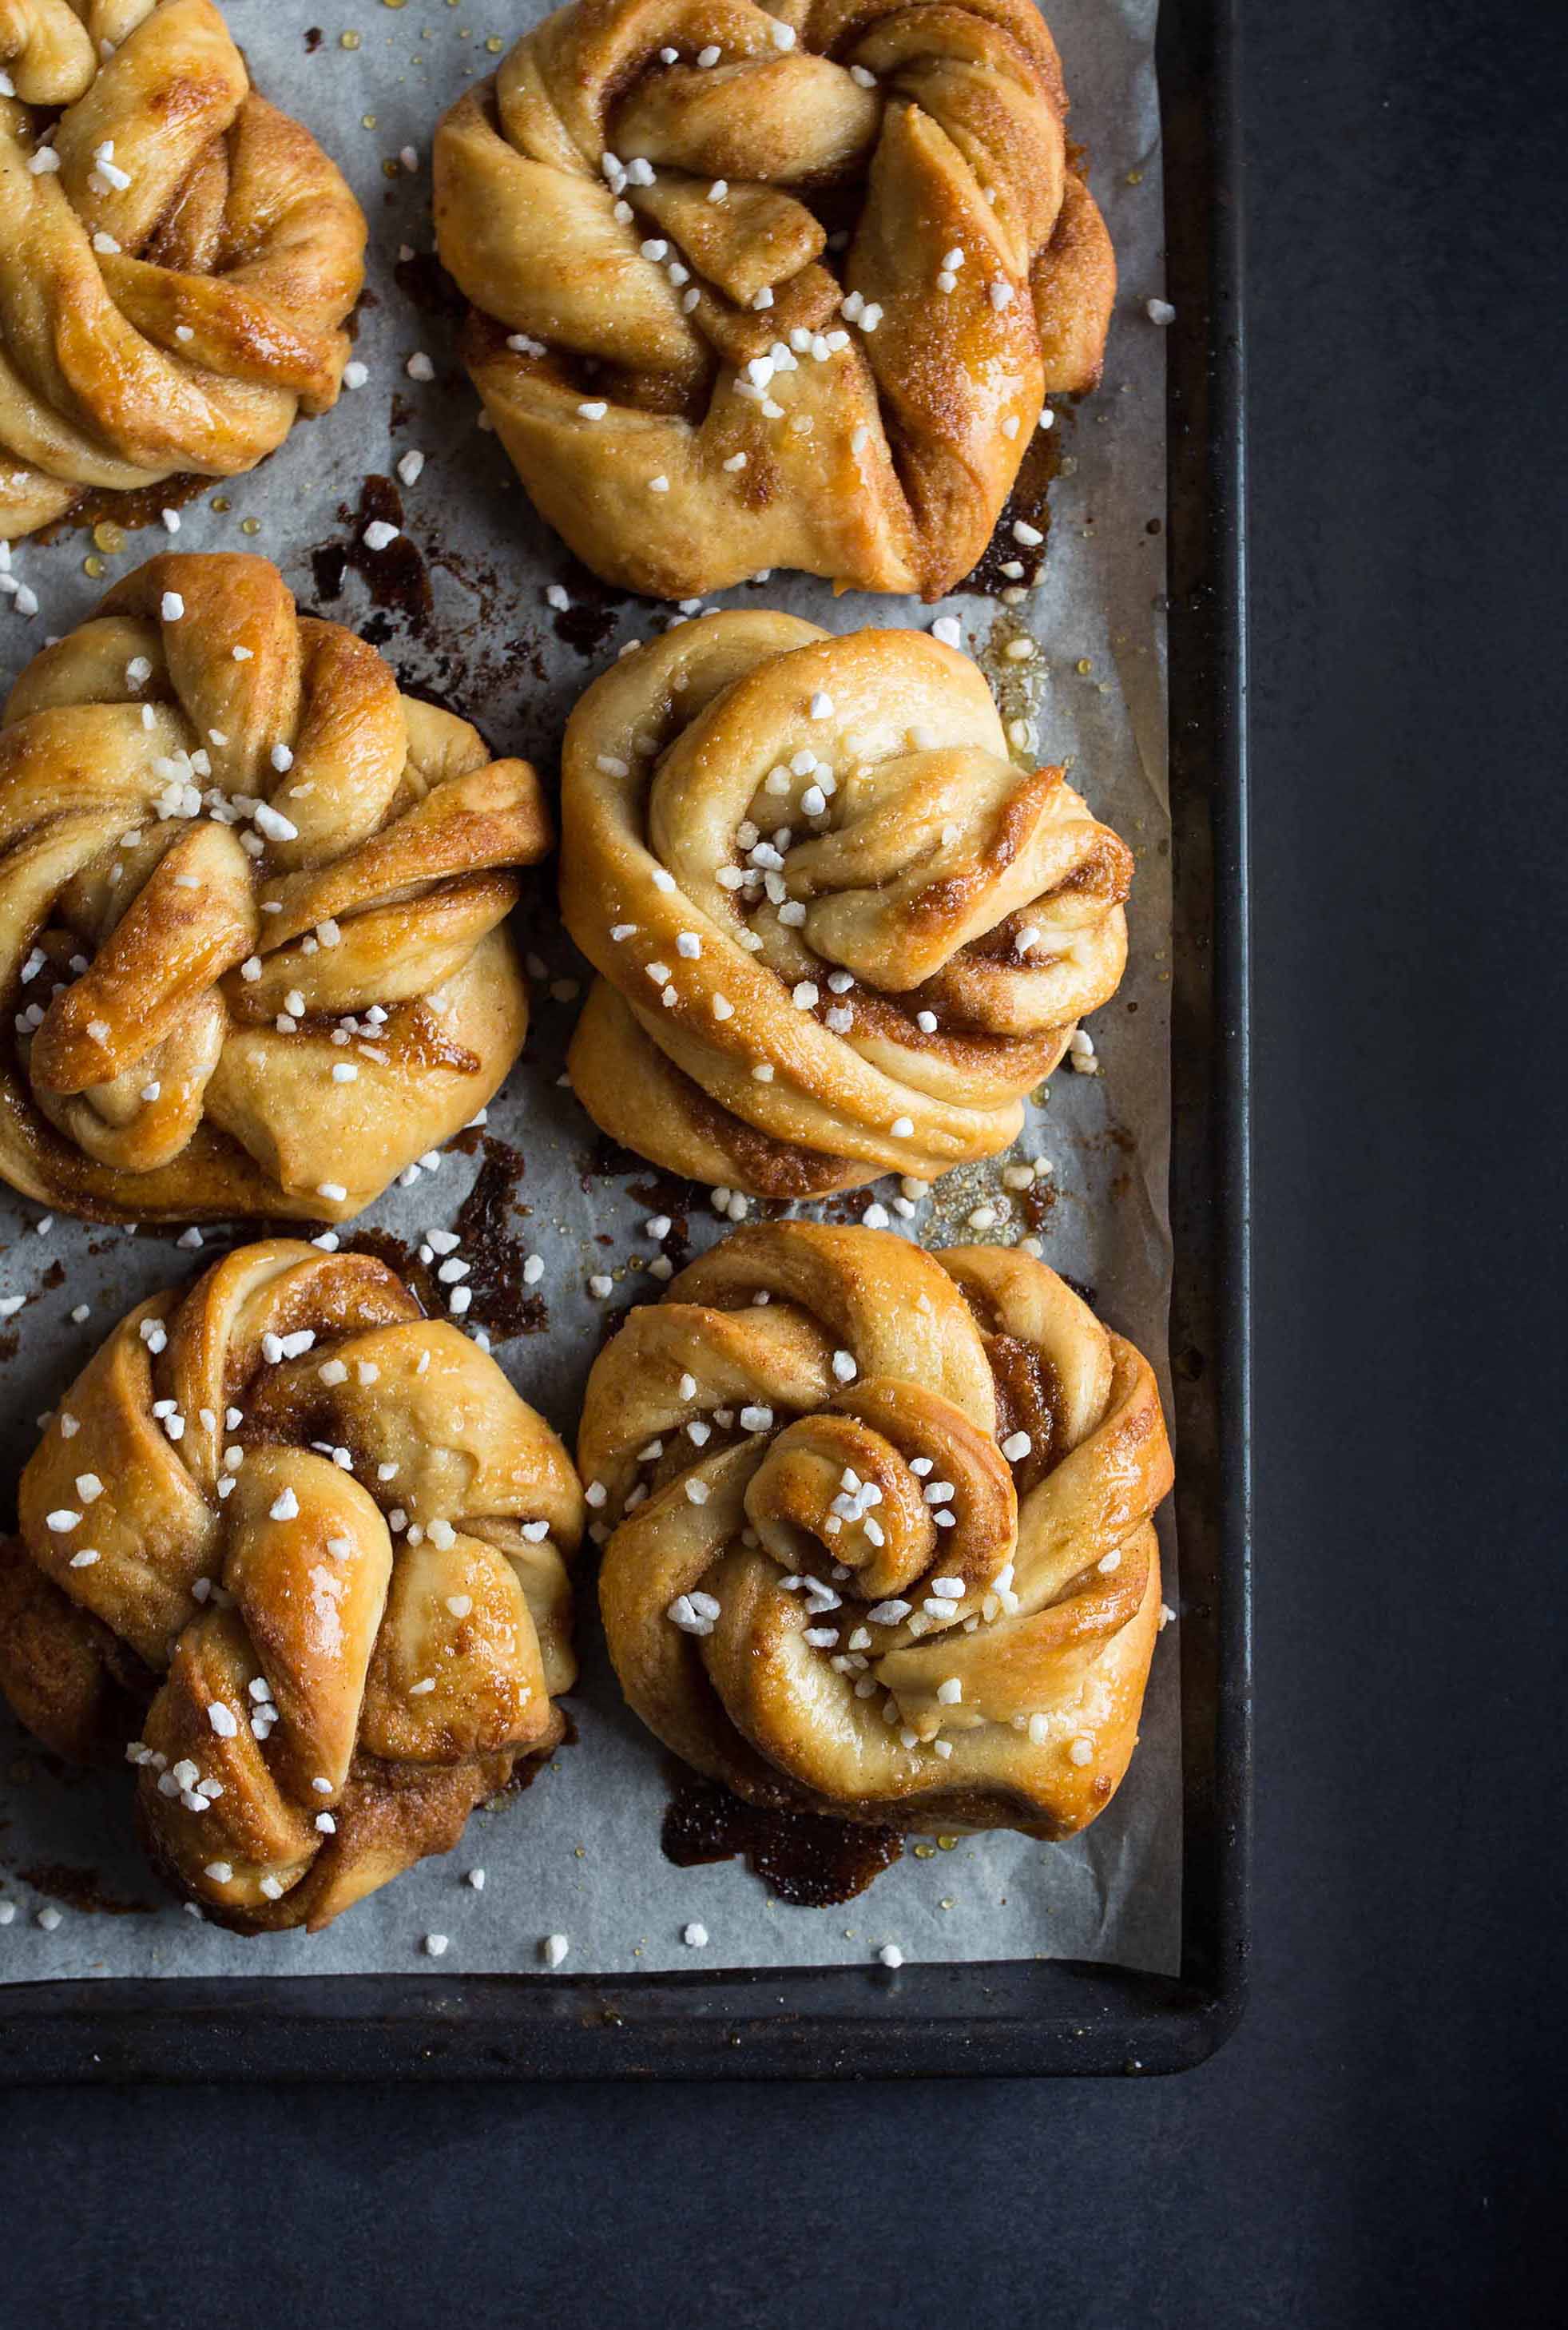
So what happened is, that I tried them and they turned out absolutely fantastic. They didn’t. they were too sticky and I experimented with different types of flours and the amount of yeast etc..Oh and I also killed the yeast by heating up the milk too much. (so don’t do that) All the lovely people around me had to help me taste and suggest improvements. After two weeks, I finally found what Iw as looking for: A light fluffy dough that gets crispy outside after baking.
A light fluffy, flaky dough that gets crispy outside after baking.
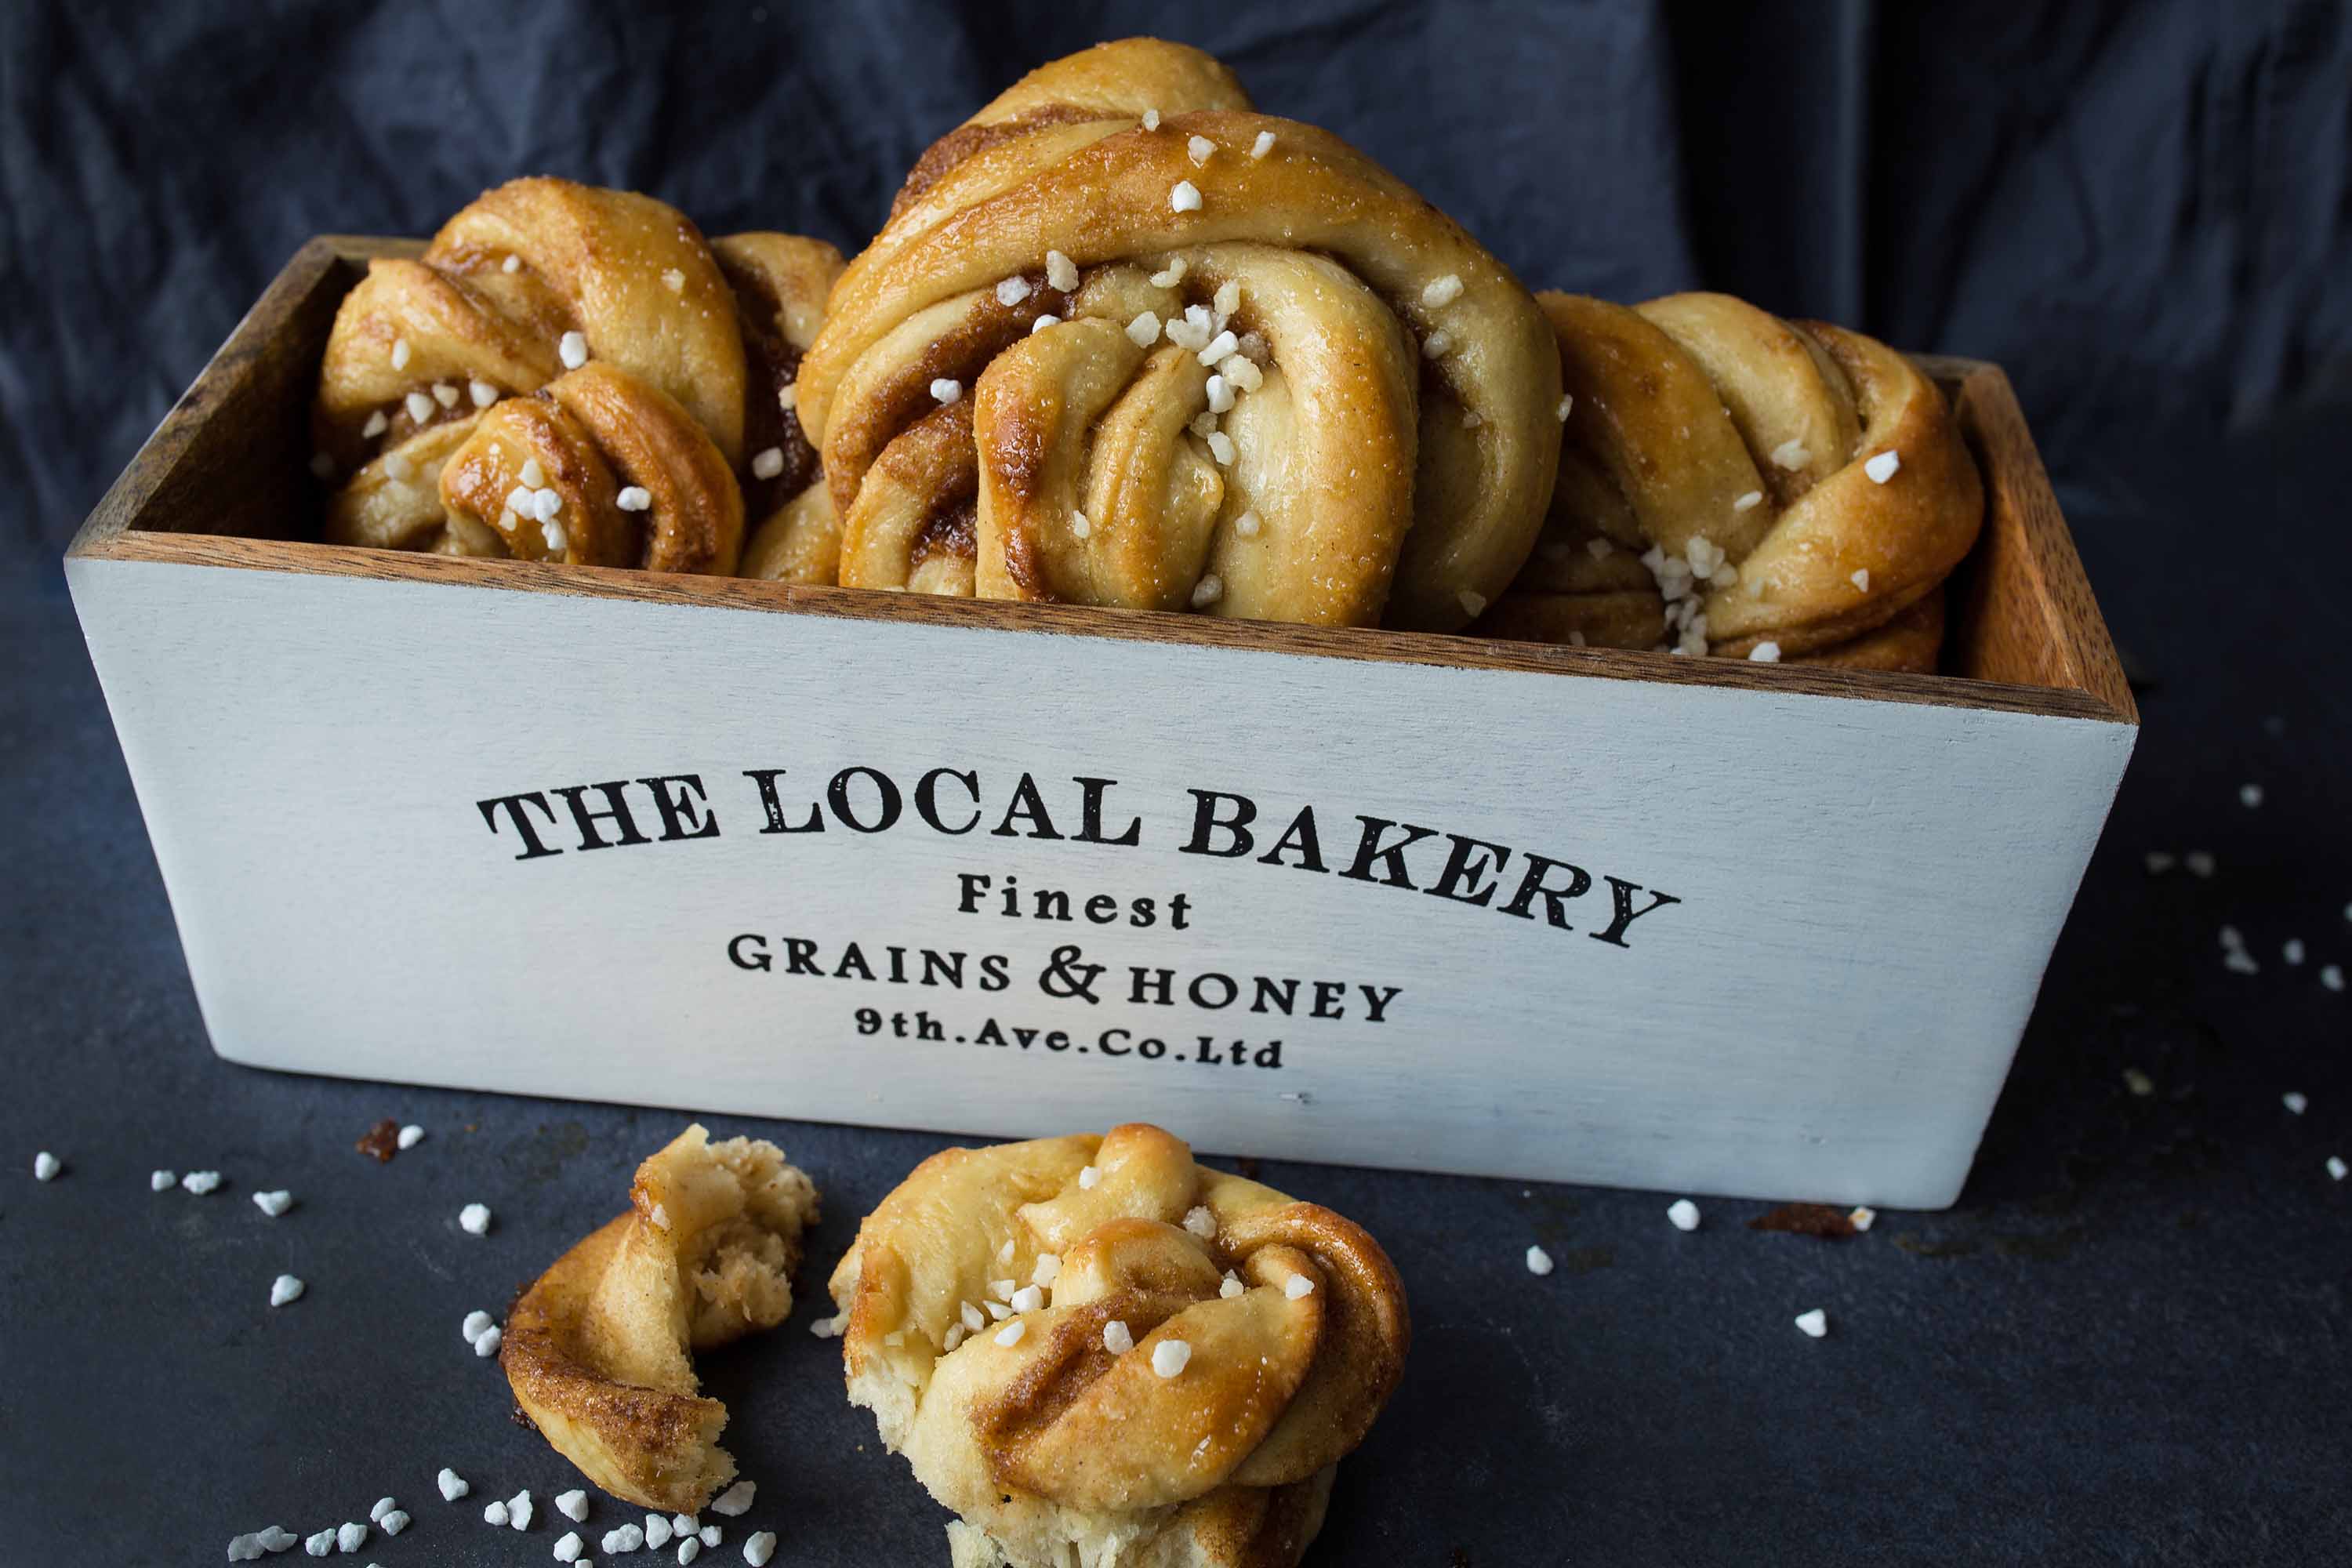
Kardemummabullar or Kanelbullar
So as promised above I will actually tell you something about why Kardemummabullar and not Kanelbullar. I learned about these names from my Instagram followers :)) Obviously, those genius Nordic people have something called FIKA, which is like a coffee break the Swedish way. And from what I researched both Kardemummabullar and Kanelbullar are pastries but they are folded differently (please people from the north feel free to correct me here) Last but not least they have Kanelbullensdag which is devoted to this pastry! It is on the 4th of October so still some time to practice!
EDIT: Kardemummabullar contain cardamom and Kanelbullar just cinnamon 🙂
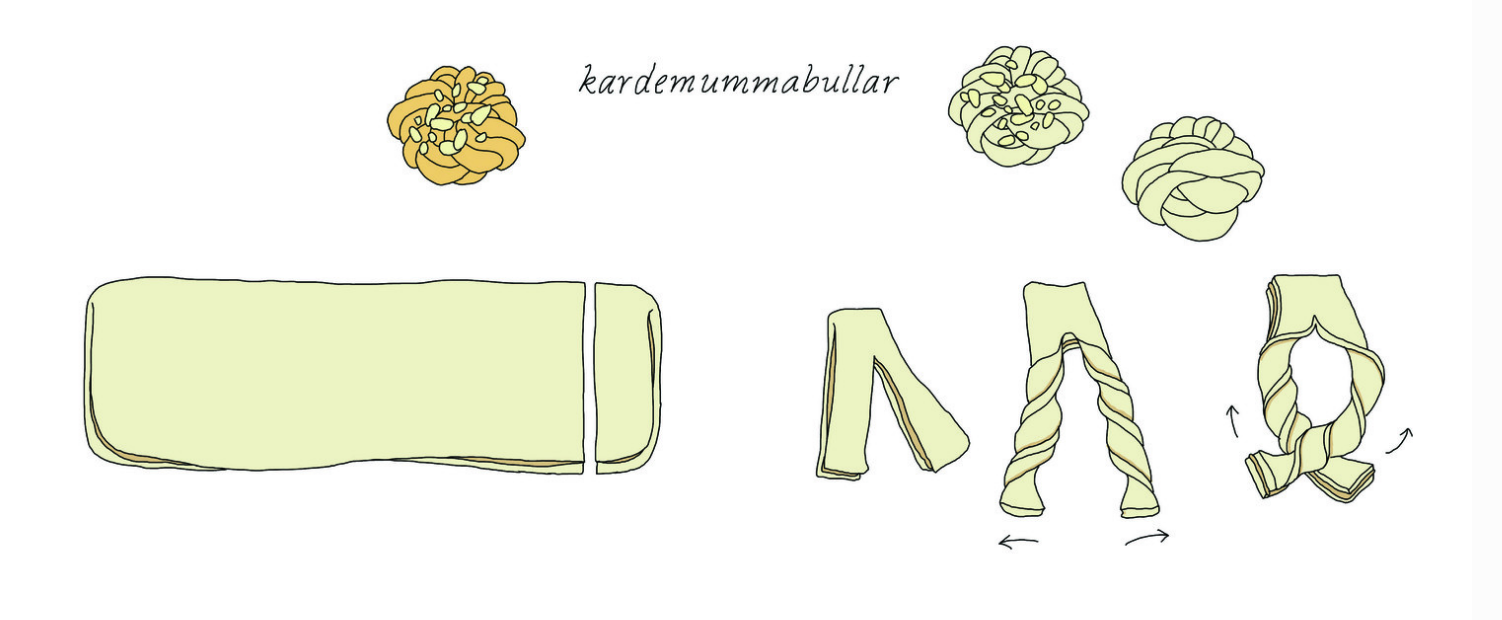
So when it comes to actually making them, you need some tactfulness and skilled fingers. To make it a little easier for you and to illustrate part of the process I added a step by step drawing from Pantry Confidential:
You can do them, I believe in you baking gods and goddesses!
I hope you’ll be making this delicious vegan cinnamon buns soon! Don’t be afraid of baking with yeast 🙂 I would be very happy to see your own version on Social Media! Share it with me on my on Instagram @vanillacrunnch or leave a comment here!
XO

- Dough
- 1½ cup "spelt" flour
- 3½ cup all-purpose flour
- ½ cup margarine
- 1½ cup almond milk
- 1 package instant yeast (mine was 7gr)
- ½ cup + 1 tbsp cane sugar
- 1 tbsp cinnamon
- a pinch of fine sea salt
- Filling
- ½ cup Margarine, straight from the fridge
- ¼ cup coconut oil, room temperature not liquid!
- ½ cup coconut sugar (substitute with cane sugar or brown sugar)
- 3 tbsp cinnamon
- 1 tsp cardamom
- a pinch of fine sea salt
- Glaze
- ¼ cup coconut sugar dissolved in ¼ cup hot water
- add around ½ Tsp vanilla extract
- Pearl sugar for sprinkling
- In a small sauce pan, heat 100ml of the almond milk with 1 tbsp sugar until warm and dissolved. Do not heat or you will kill the yeast!
- Pour the mixture into a small bowl and sprinkle yeast over it. Combine and let activate for about 10 minutes.
- In the pan melt the margarine with the rest of the milk (300ml) and the ½ cup sugar. Do not heat!
- In a large mixing bowl combine the flours with the cinnamon and salt.
- Add the warm milk/margarine mix and the yeast mix to the bowl with the dry ingredients.
- Mix well with a wooden spoon and then knead together with your hands on a floured surface or about 5 minutes.
- Place dough into an oiled bowl, cover it with a towel and let rise for about 1 hour or until the dough has doubled in size.
- To make the filling, combine the margarine, with the coconut sugar, cinnamon, and cardamom in a bowl. (Make the filling right before the dough has finished rising.)
- On a lightly floured surface, punch down the dough several times before rolling it out into a thin rectangle. The dough should feel moist, but if it sticks to your fingers add a tiny bit of flour.
- I rolled it out on clear film with a little flour on it.
- Then spread the filling on half of the dough. Fold the dough and cover the side with the filling. (see picture in the post for details)
- With a sharp, cut the dough into 10- 12 long stripes and cut every stripe again but just in the middle. (again the picture int he post will help you)
- Twist the tails and then knot them together.
- Brush with some almond milk and let sit again for 1 hour.
- Preheat your oven to 435F and bake for about 12-15 minutes or until golden brown.
- When coming out of the oven immediately brush them with the glaze and sprinkle pearl sugar on them.
- Eat them on the same day or at least on the next day (won't be that much of a challenge)
Rezept auf Deutsch
Für 10-12 Knoten brauch Ihr:
Teig
120gr Margarine
400ml Milch
1 Päckchen Trockenhefe
250gr helles Dinkelmehl
400gr Weissmehl
100gr Rohrzucker
1 EL Zimt
eine Prise Meersalz
Füllung
100gr Margrine
30gr Kokosöl, Raumtemperatur und nicht flüssig
150gr Kokosblütenzucker (oder Rohrzucker)
2 El Zimt
2 TL Kardamom, gemahlen
eine Prise Meersalz
Glasur
50ml Wasser, heiss
50gr Kokosblütenzucker
1/2 TL Vanilleextrakt
Hagelzucker
Für den Teig,erwärmt Ihr zuerst 100ml der Milch und übergiesst damit 1 Tl Rohrzucker in einer Schale. (die Milch darf nicht zu heiss sein sonst erstickt Ihr die Hefe!) Dann die Hefe darüberstreuen, vermischen und 10 Minuten „aktivieren lassen“. Schmelzt dann die Margarine in einer Pfanne mit dem Rest der Milch (300ml) und dem Rest des Zuckers
In einer Schüssel vermengt Ihr das Mehl mit dem Zimt und Salz.
Gebt nun die Hefe und Margarine Mischung zur Schüssel mit den trockenen Zutaten.
Gut vermengen bis ein einheitlicher Teig entsteht. Klebt der Teig noch an den Fingern einfach ein bisschen mehr Mehl beigeben.
In einer bemehlten Schüssel 1 Stunde ruhen und gehen lassen.
Während der Ruhezeit kann die Füllung vorbereitet werden. Dazu die feste Margarine (direkt aus dem Kühlschrank!) mit dem Zucker dem Kokosöl (Zimmertemperatur) dem Zimt, Kardamom und Salz vermengen.
Die Arbeitsfläche mit Klarsichtfolie auslegen und mit Mehl bestreuen. Den Teig darauf rechteckig auswallen. Die eine Seite des Teiges wird nun mit der Füllung belegt. Die andere Seite des Teiges dann darüber legen und die Füllung „zudecken“. Aus dem teig werden nun 12 lange Streifen geschnitten. Jeder Streifen nocheinmal anschneiden aber nicht ganz durch. Die beiden „Zwipfel“ werden dann gedreht und am Schluss verknotet. (im Text oben gibt es eine Bild Anleitung!) Die Knoten mit Milch bestreichen und nocheinmal 45 Minuten gehen lassen.
Dann bei 225 Grad für 15-17 Minuten oder bis goldbraun backen. Gleich nach dem herausnehmen mit der Glasur bestreichen und mit Hagelzucker verzieren.

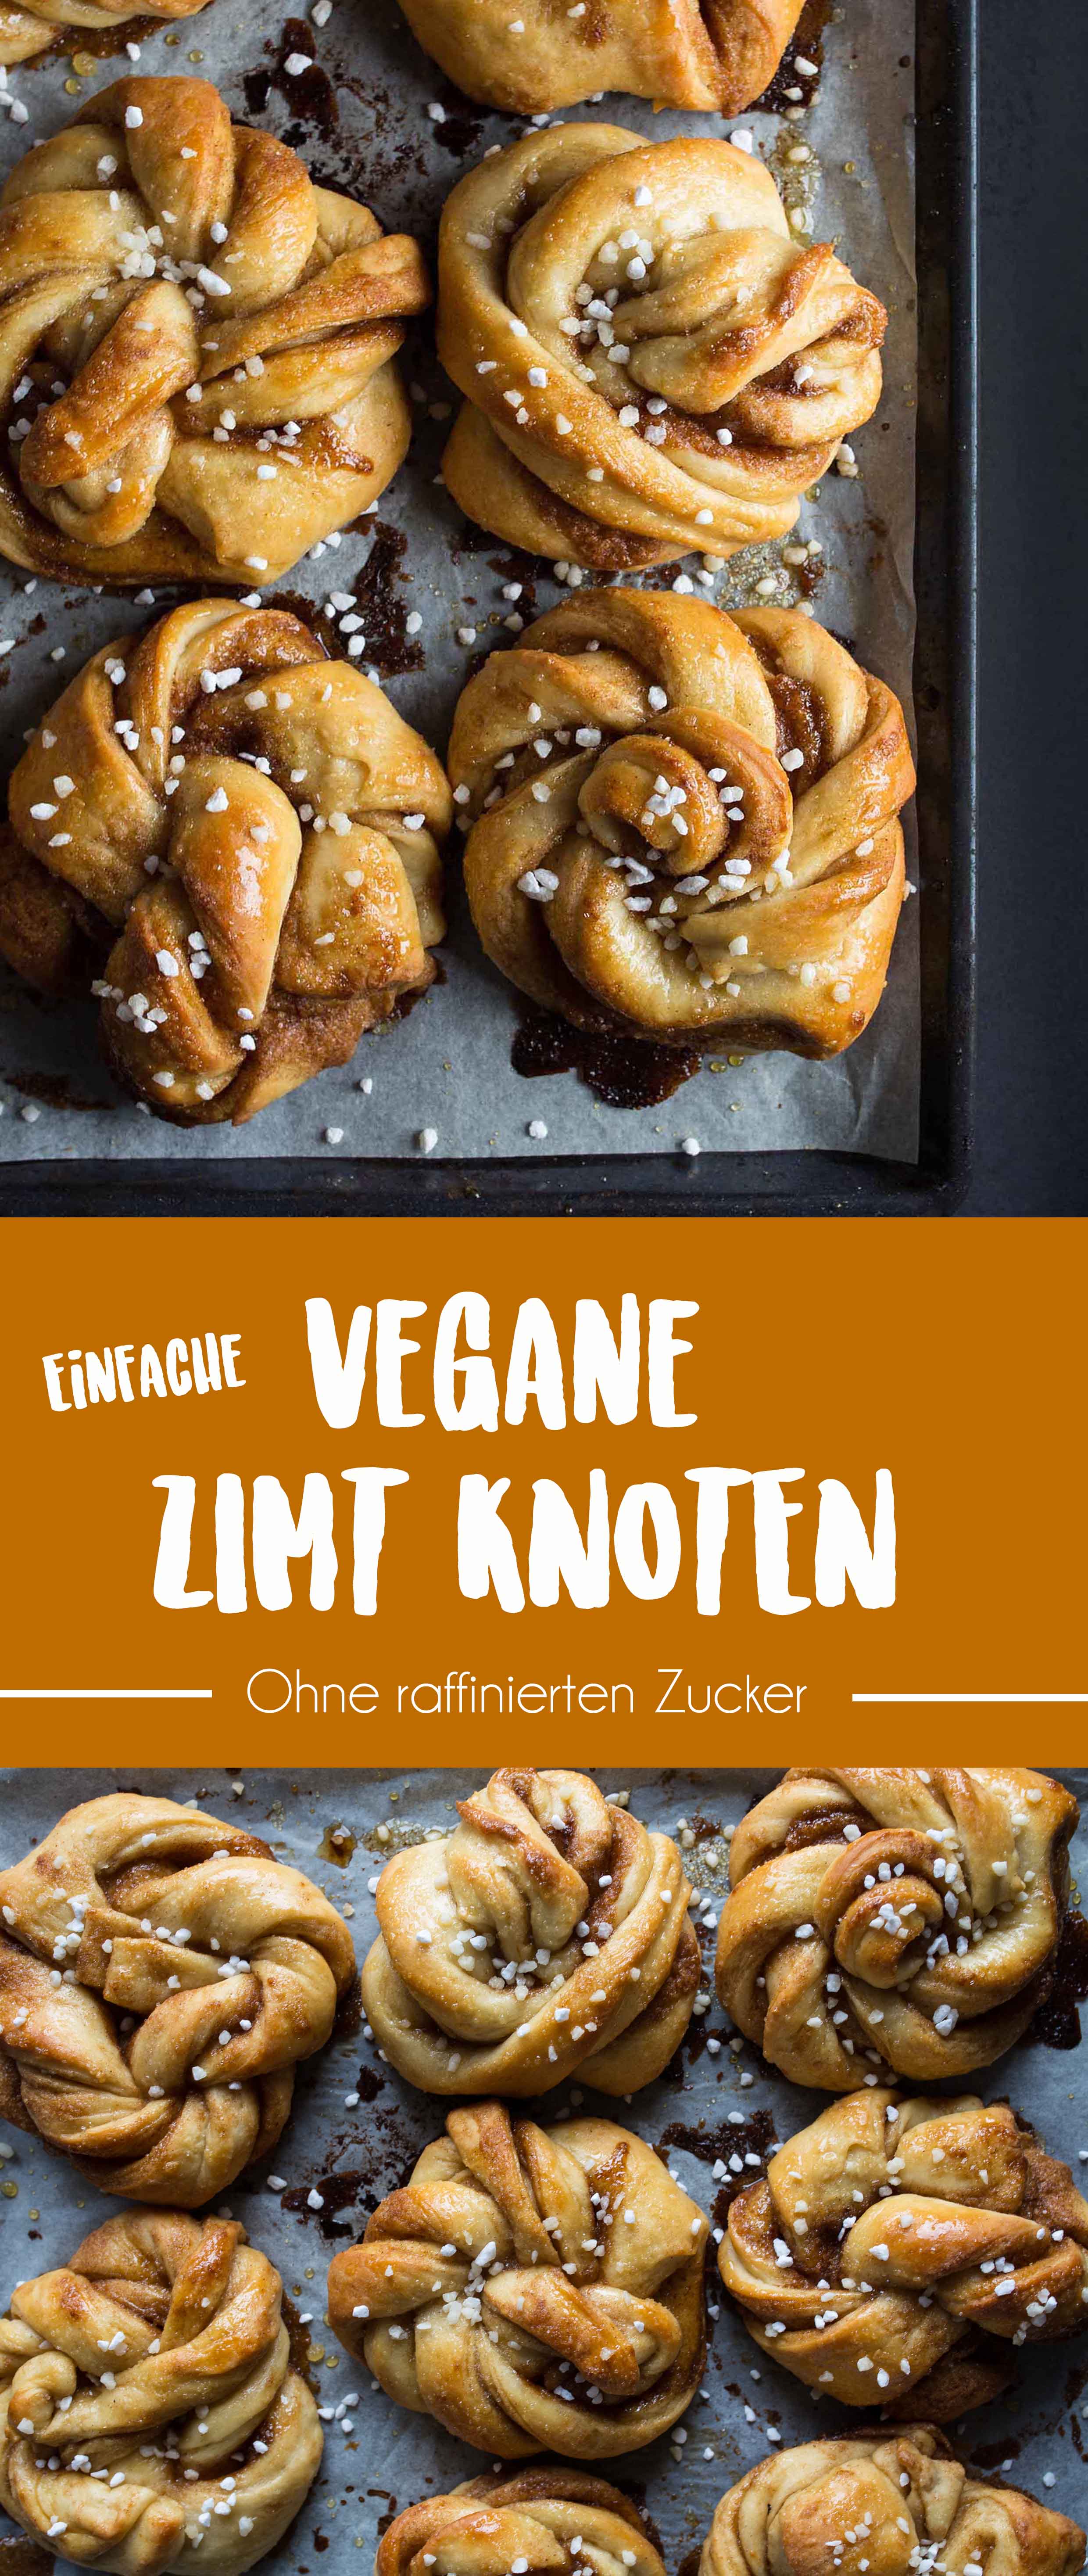
ooohh..die sehen ja wirklich zum anbeissen aus! Da möchte man gleich zugreifen!
Ganz toll, Vielen Dank!
Liebe Grüße
Stephanie
These are very different-looking cinnamon buns I’ve ever seen, but they look absolutely delicious! Yeast dough makes soooo many amazing things–croissants, bread, pizza, doughnuts, and cinnamon buns and rolls, of course! I would love to try these out. They must be divine!
Wir sind gerade in Schweden in den Ferien. Da wir leider keine veganen „Kanelbullar“, also Zimtschnecken finden konnten, haben wir unsere eigenen gebacken. Wir haben gleich die doppelte Menge gebacken, wir mussten aber etwas mehr Mehl dazugeben, als im Rezept. Das Bild zum falten der Knoten hat super geholfen, die „Zipfel“ haben wir jedoch vor dem eindrehen nochmals gefaltet, so waren sie nicht zu lang und es funktionierte etwas einfacher. Ansonsten waren sie sehr, sehr lecker. Tolles Rezept!
So toll Lena!! Das freut mich ich werde das mit dem Mehl noch vermerken ????
Ich habe sie gestern gebacken und ich kann nicht aufhören sie zu essen! So unheimlich lecker!
Ich musste wie Lena auch noch etwas mehr Mehl dazu machen, weil der Teig zu klebrig war, aber dann waren sie perfekt fluffig! ????
Sooo toll!! Danke für das Feedback!! Ich mach zum Mehl gleich noch ne Notiz ????
Großartiges Rezept, liebe Lara. Ich hab die Knoten nachgebacken und bin sehr verliebt in die köstlichen Teilchen! <3
Liebe Nike. Ich freue mich gerade total über deinen Kommentar ❤️ toll haben Sie dir geschmeckt ????
Hey Lara, danke dir für das Rezept erstmal! Allerdings muss ich sagen, dass bei mir die Verhältnisse und die Zeitangaben überhaupt nicht gepasst haben! Keine Ahnung, was da falsch lief, aber vielleicht lags auch einfach daran, dass ich Germteig noch nicht so oft gemacht habe? Auf alle Fälle ging erstmal der Teig ewig nicht auf. Einen Tag später hats dann doch geklappt und mit Unmengen mehr Mehl wurden am Ende jetzt doch auch noch Knöpfe draus! Sie schmecken super!
Liebe Romana vielen Dank für deine Kommentar! Das ist echt komisch weil mittlerweile haben das Rezept schon total viele erfolgreich gemacht ohne Probleme..ich werde aber zur Sicherheit nochmal mit den Angaben alles Nachbacken. Hast du dich am deutschen Rezept orientiert?
Ich möchte diese gerne bald backen, verstehe jedoch nicht alles von der Bildanleitung wie man diese Knoten hinbekommt. Bei Schritt vier bin ich verwirrt. Legt man die beiden gezwirbelten Enden übereinander und dann wie weiter?
Ich liebe Zimtschnecken, habe bis jetzt immer die finnische Variante gemacht. Möchte mich aber auch mal an diese schwedischen ran wagen.
Liebe Grüße
Aiden
I have baked these over the week end, and oh my, they are actually the best cinnamon/cardamom buns I have ever tasted! Even better than my Farmer’s market’s ones!
I have slightly changed the ingredients to suit my pantry, and have let the dough rise for 2 hours in total, as it wasn’t fluffy enough after 10mn. They turned out marvellous.
I wonder if you ever have tried to either freeze the dough or freeze the buns once baked and how did it went?
Thank you so so much for this recipe, now I can make my own favourite pastry 🙂 <3
Thanks so much Cecile! Yes what we tried is to bake them, freeze them and reheat them in the microwave. This worked perfectly fine.