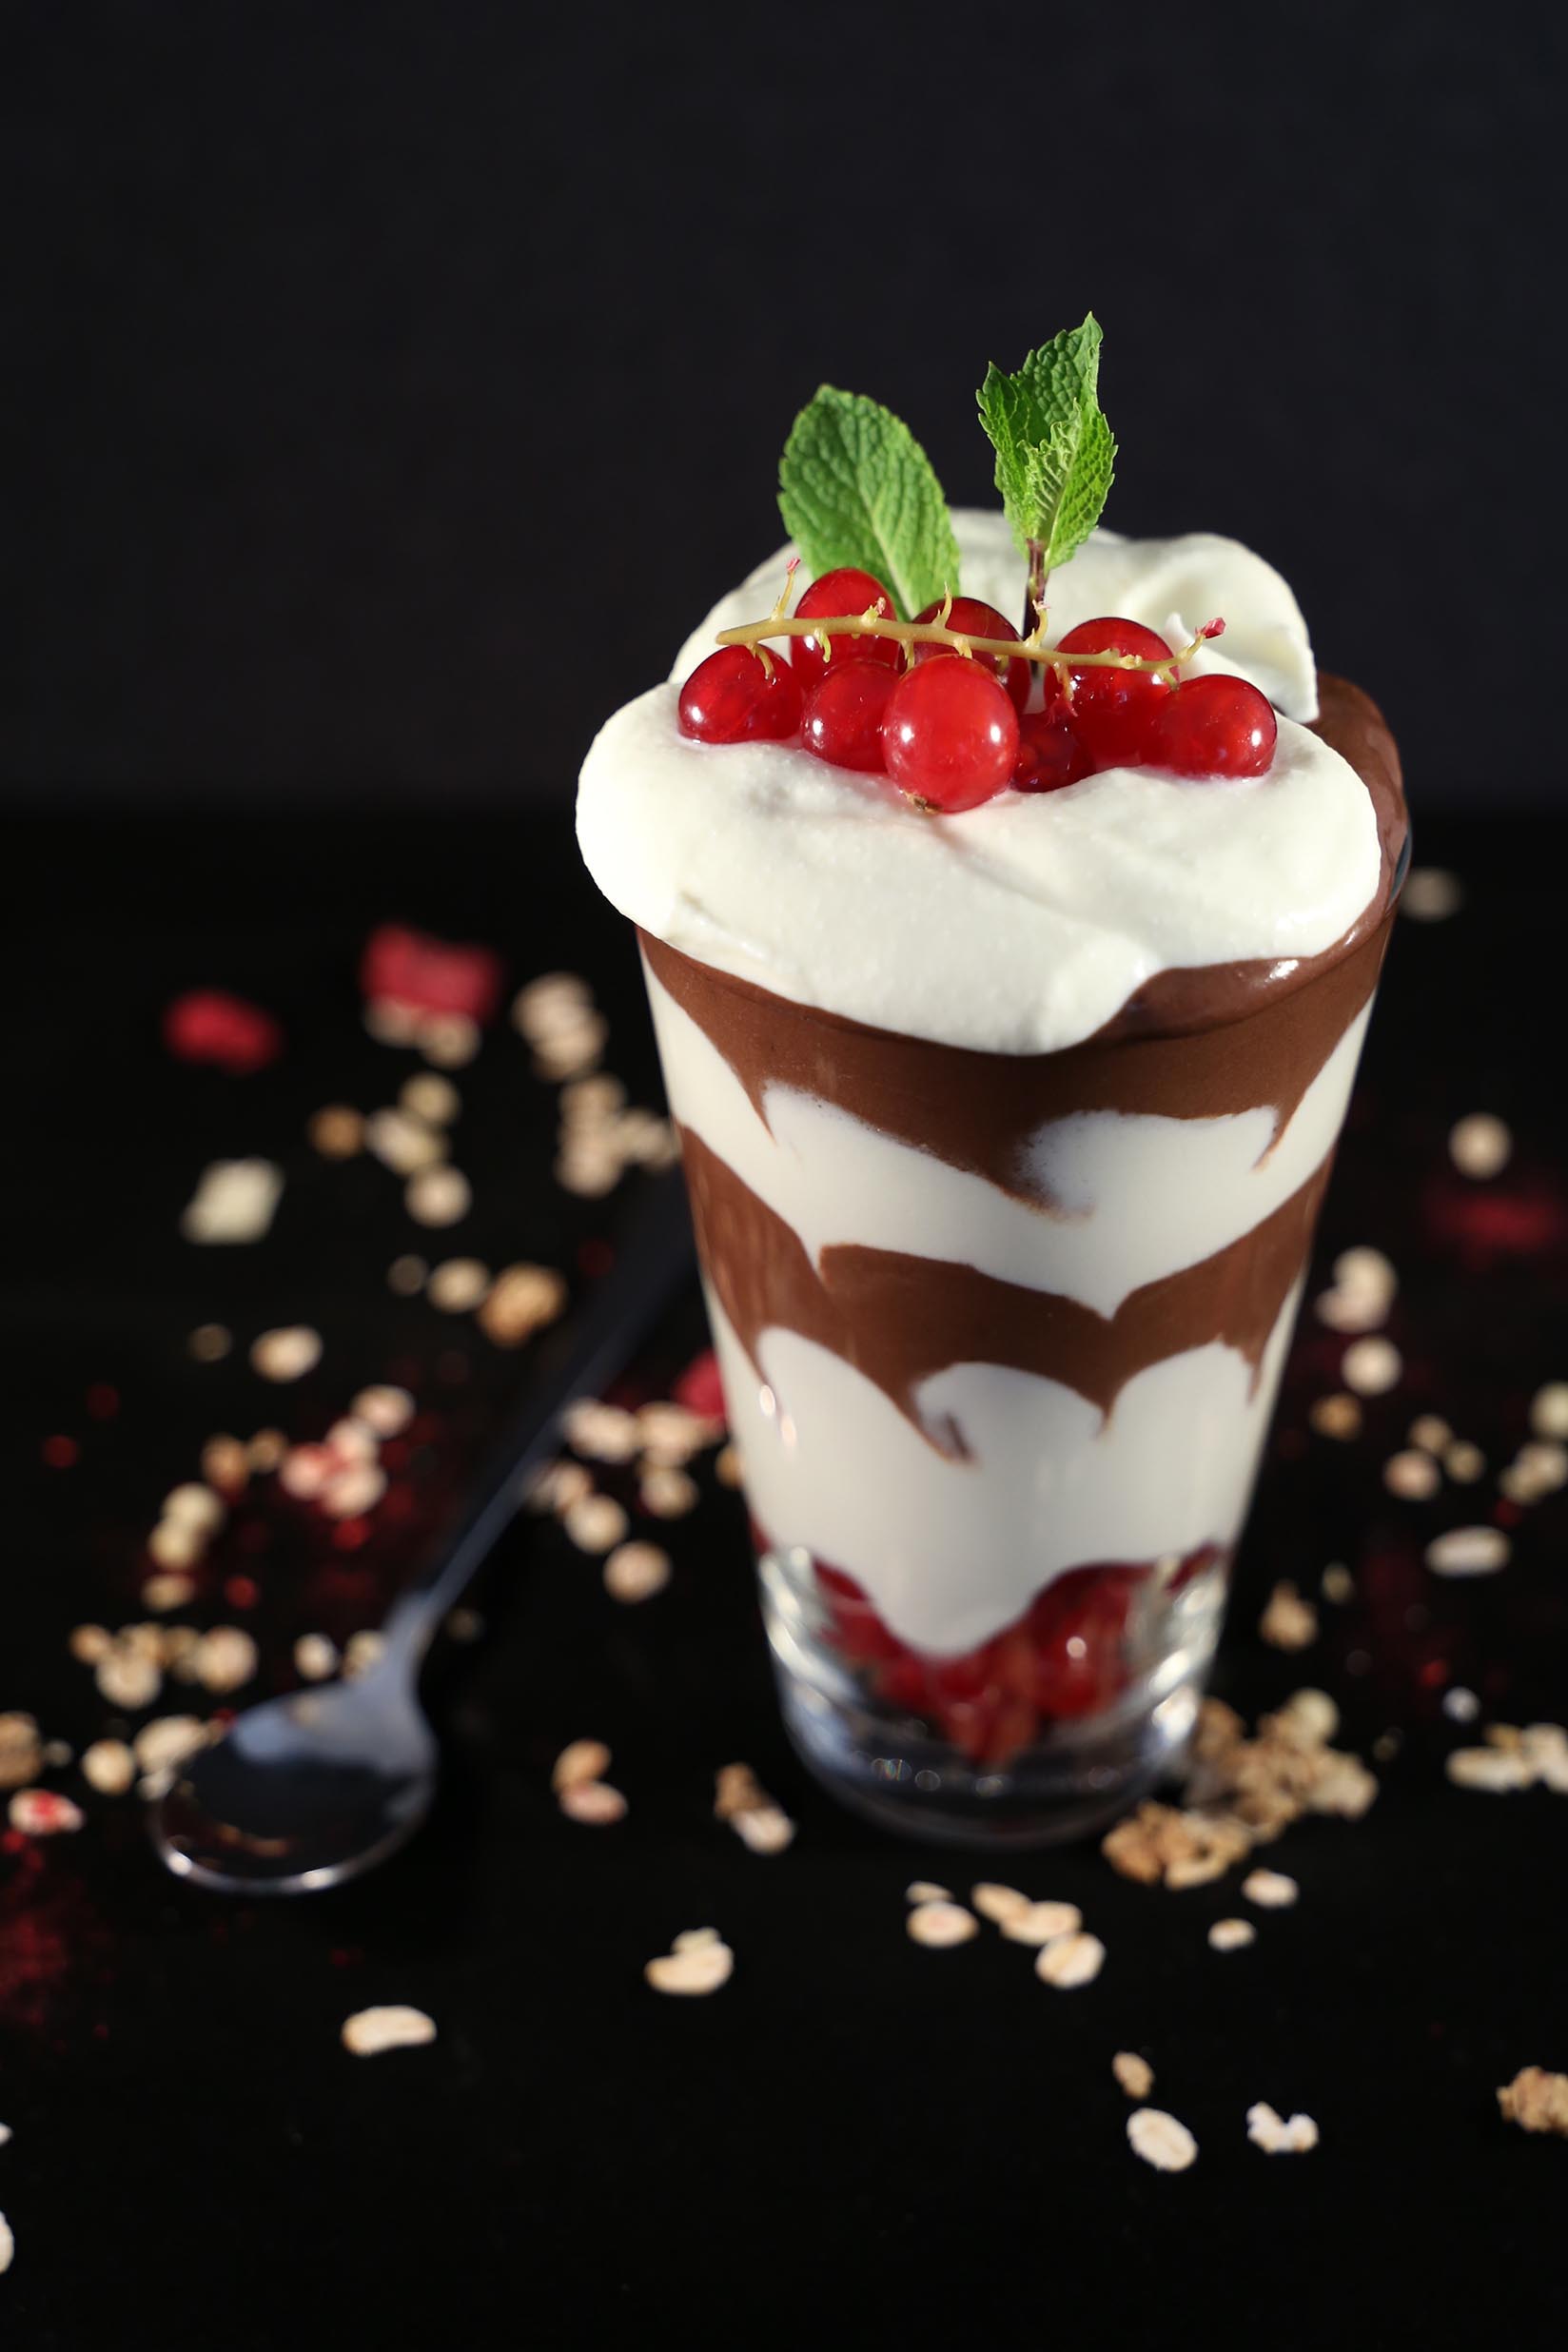
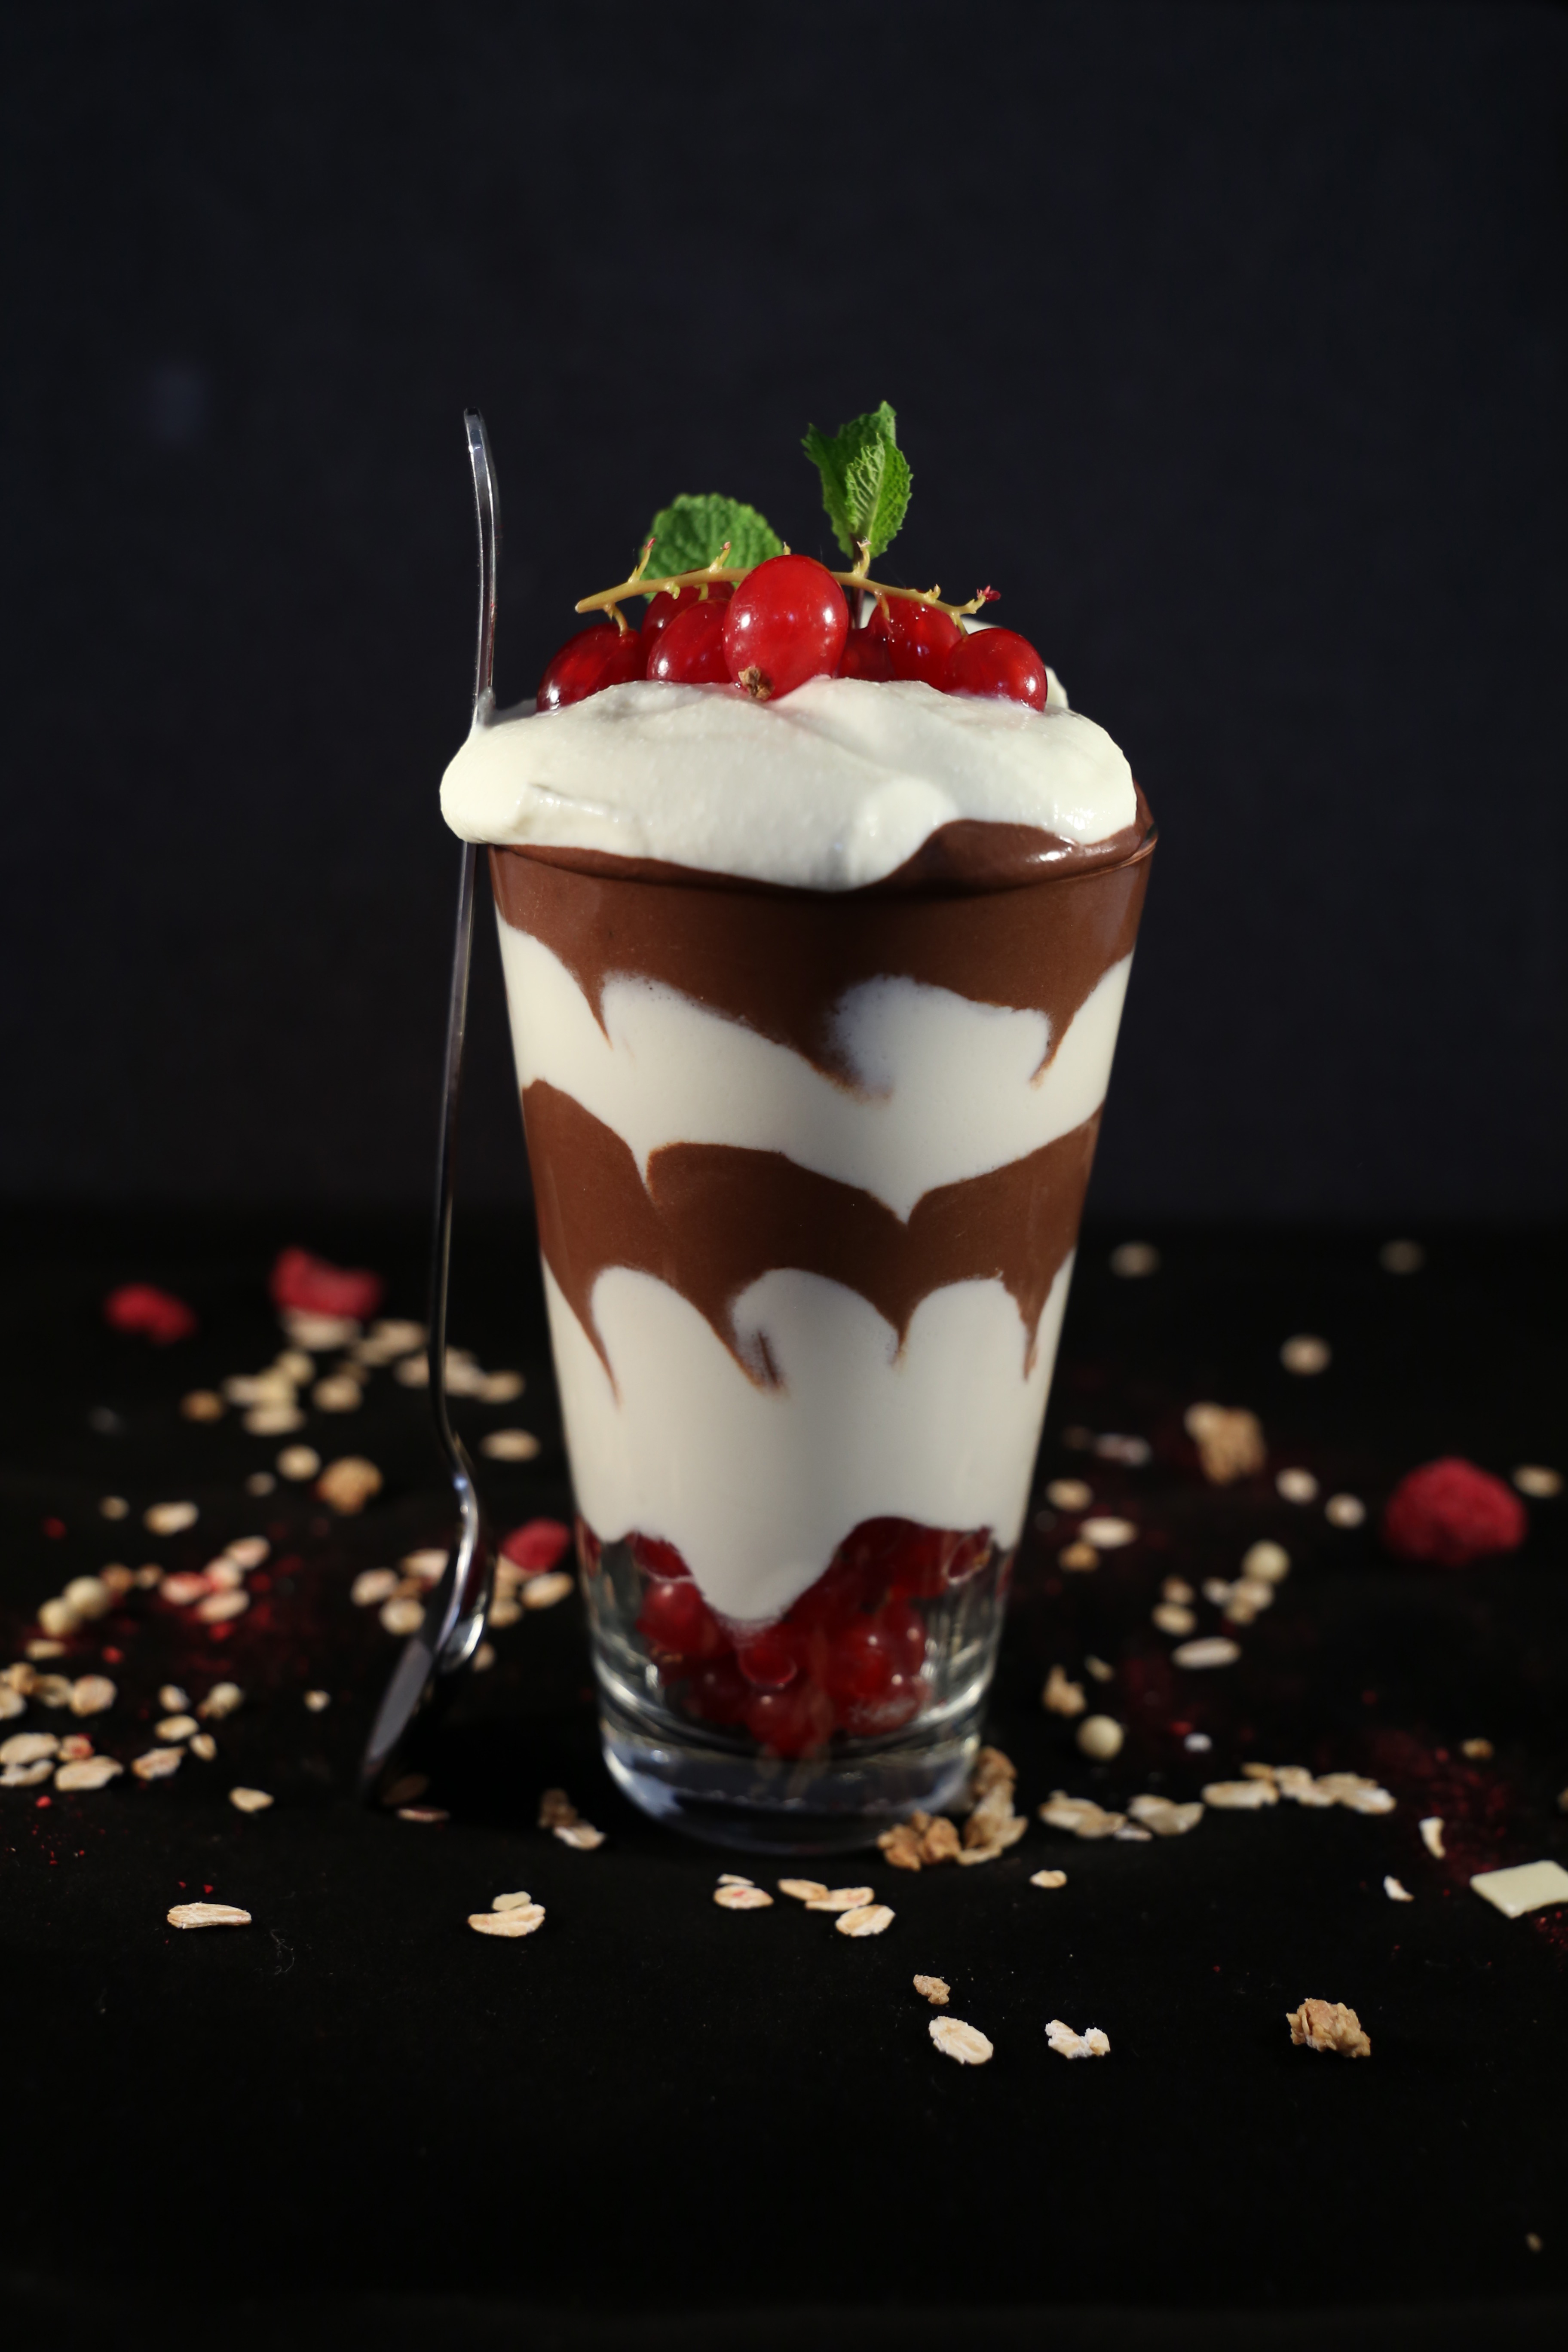
I always feel a little weird when posting smoothie or Nicecream recipes; I have to admit. I literally just smash all the stuff I can find in my mixer and then call it a NICECREAM 🙂
However I thought this decadent Nicecream creations needs to find its spot within this blog and has a right to be recreated by many many Chocolate obsessed people and foodporn seekeer.
If you are not into chocolate and coconut and nicecream and dessert and heaven and love (seriously?) then feel free to scroll down to my Tipps on how you can improve your food photography.

Recipe
– 2 frozen bananas
– 1 tbsp Cacao powder I prefer Cacao powder because it is the best quality and 100% raw
– 1 tbsp Carob powder
– 1 tbsp raw agave syrup
– 1 can full-fat coconut cream, chilled (The top part of the can) Don’t forget to place the can in
the fridge overnight.
– 1 tsp vanilla extract
– some branches of currant berries
You can make the first layer by covering the bottom of the glass with some berries. Then start with the other layers. For the chocolate layer you mix 1.5 frozen bananas with the cacao and carob powder and the agave syrup. Set aside
For the coconut layer you mix the rest of the banana from above first with the vanilla extract then with a spoon carefully add the coconut cream and combine until smooth.
Layer the glass with these two layers and decorate accordingly.

Tools to improve your photography
Recently I got asked a lot not only about recipes but more how I make my pictures. Well I could tell you hours and hours about it and I maybe make a video once. But for now let me just walk you through these essentials. A good camera, a good editing program and good light aka photo tent.
Of course you can also make really good pictures with an iphone but at the point where I was a year ago I just wanted a little more than just picturing my meal and then upload it 🙂
I never really had a professional camera and I was satisfied with my Iphone 5 for a long time. However if you want to step up your game you might consider investing in a really good cam.
I knew that this would be a huge investment for me, but also the investment of a life-time.
Not only does the Canon 6D shoot incredible pictures, but it also shoots really incredible HD video.
So if you are thinking about doing this in a more professional way, definitely buy a really good cam instead of an average one that might cost you $600 less.

When you are a food photographer starter a Photo tent
is your best friend. Not only is it really cheap, it also comes with 4 different backgrounds and two lamps. I bought mine one year ago and I still use it a lot especially in winter or when it is really cloudy outside. As you can see in the picture above the black background gives this smoothie the perfect support and brings out the colors very naturally. American readers get the best deal with the Photo Studio Shooting Tent


I love this post! I suck when it comes to taking pictures and would love to upgrade it, but always think I simply don’t have the thing for it. I am definitely getting this tent! 🙂 Looking forward to more of your photography tips! Greetings from Slovenia BTW 🙂
I totally feel you! I will do a more extensive post on photography but for beginners this tent really saves your life especially in winter! Best,
Lara